Overview
The XChain Connections flow allows users to deploy cross-chain projects using a templated approach, ensuring all required configurations and inputs are completed before deployment.Steps to Deploy a Cross-Chain Project
-
Head to XChain Connections
- After creating a new project or select from templates or selecting from the projects, the user is automatically redirected to the XChain Connections page to manage and deploy the project.
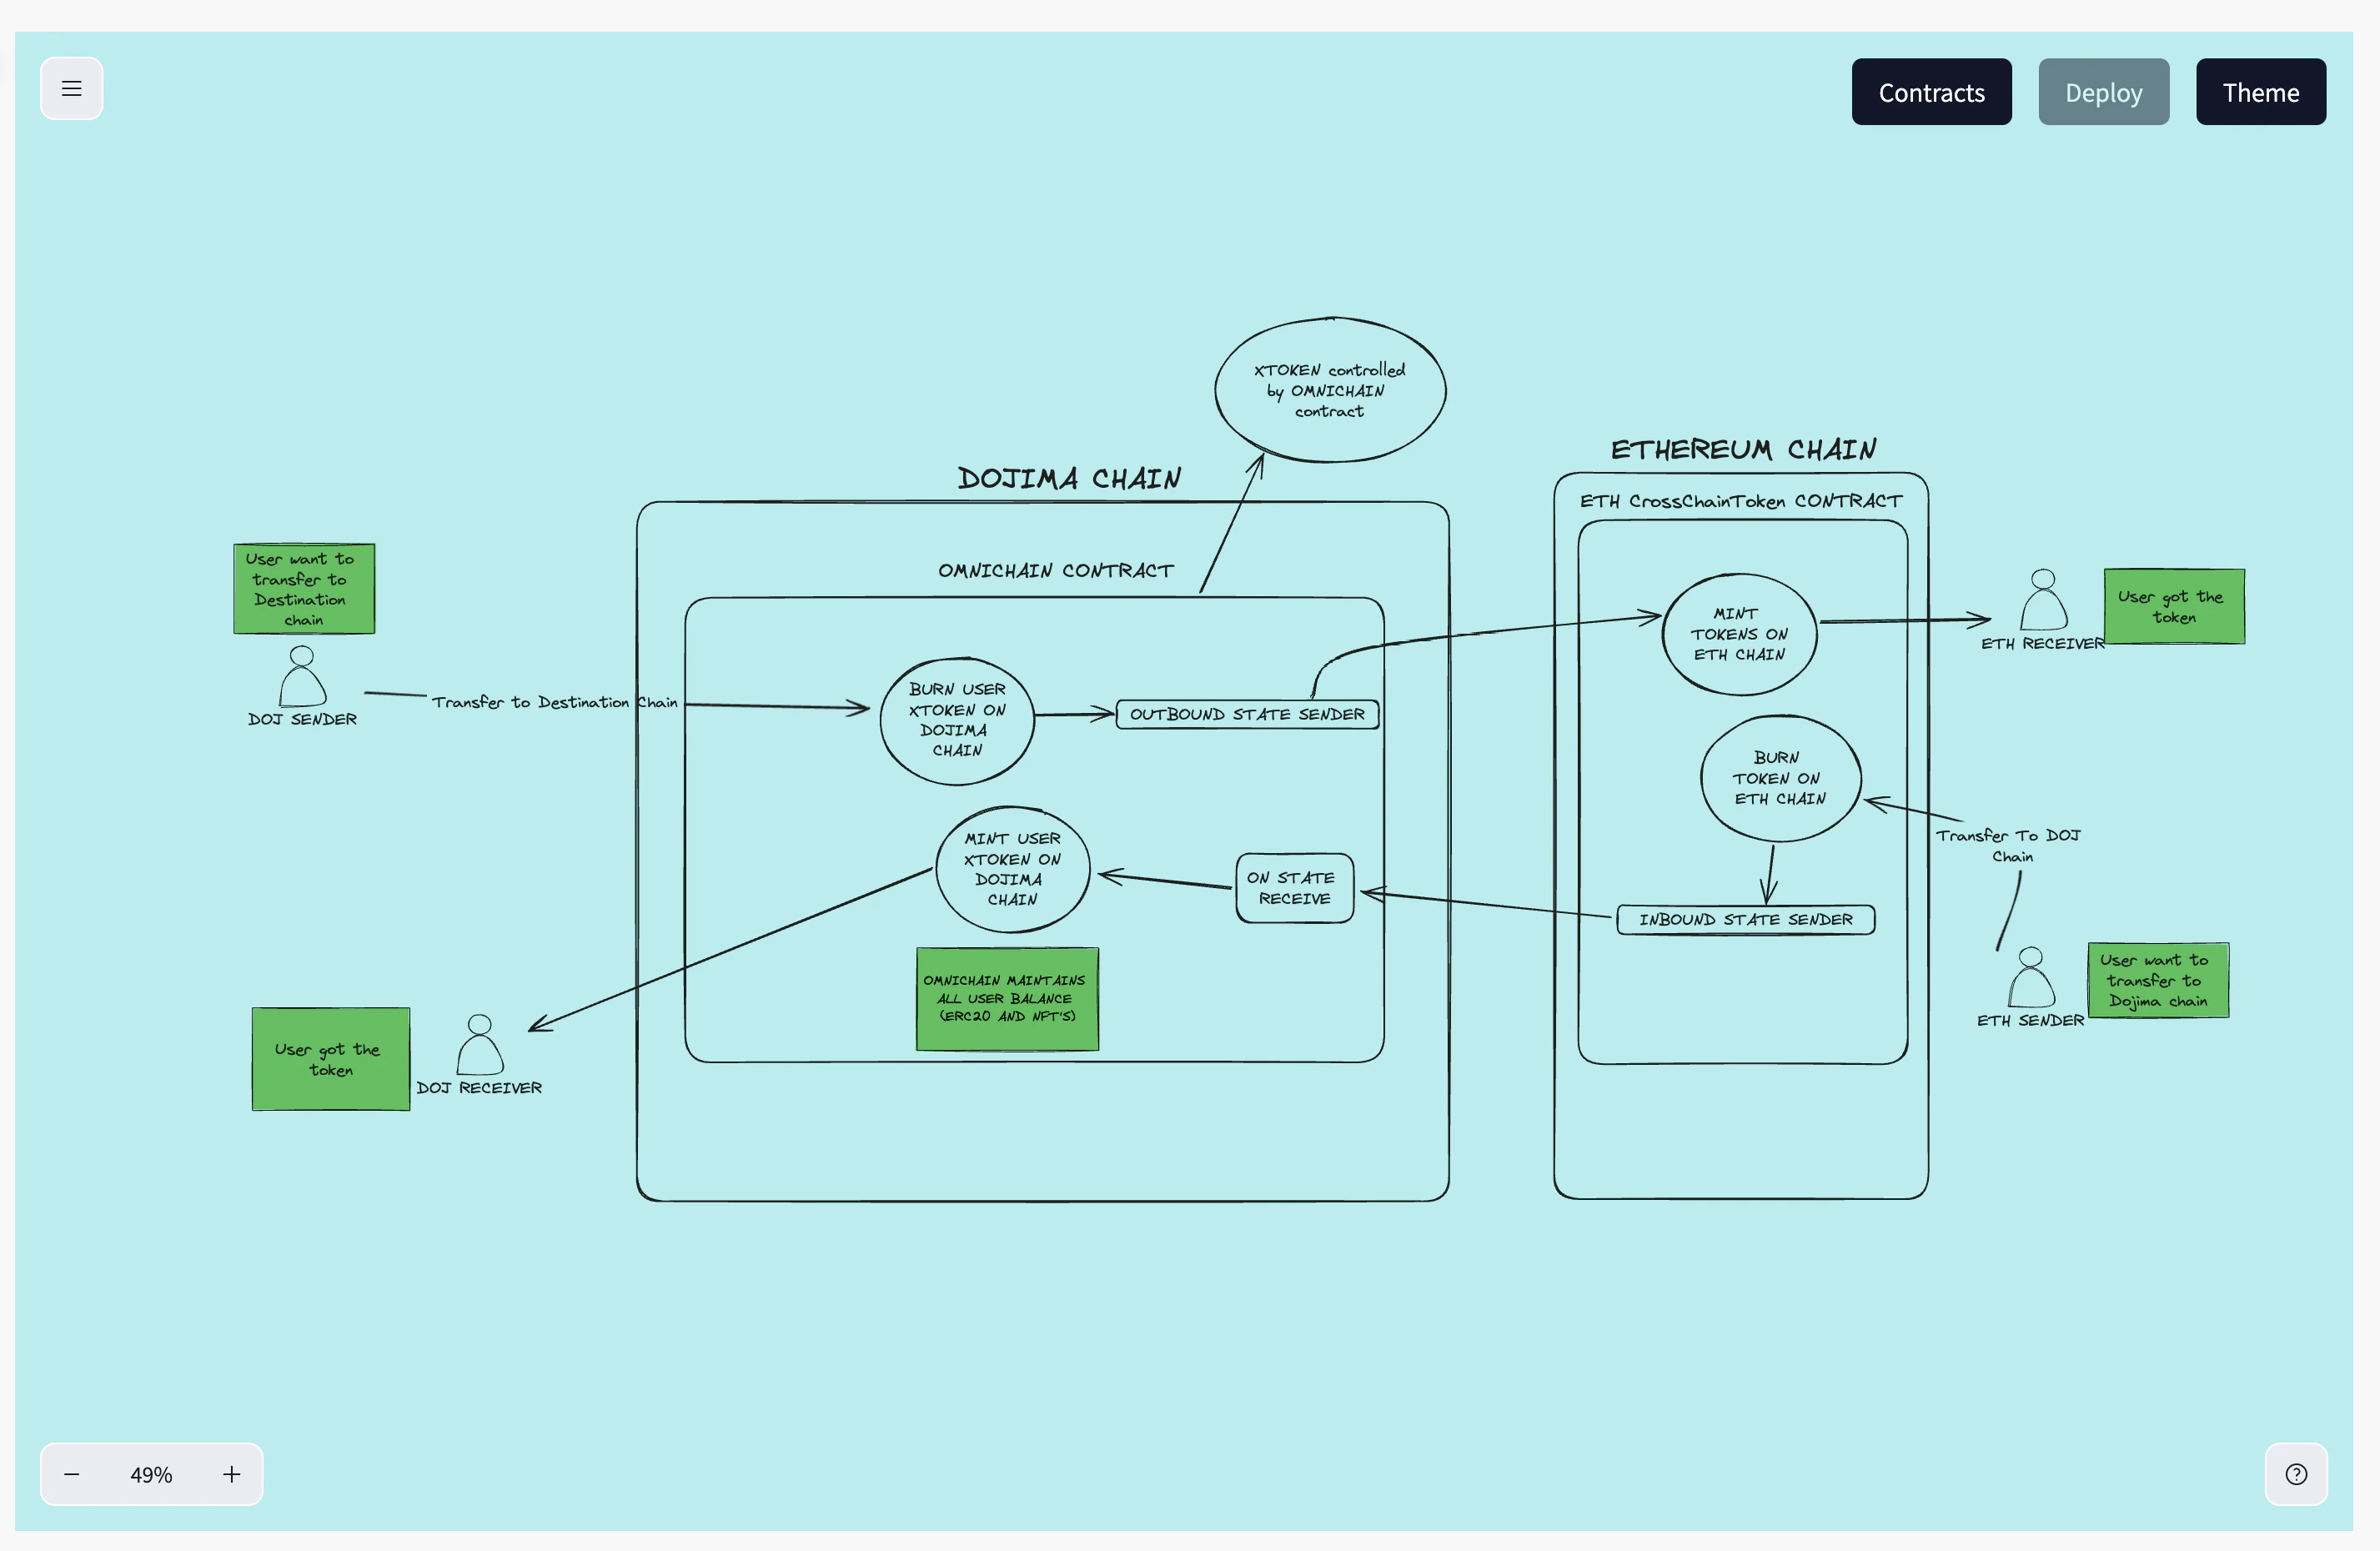
- After creating a new project or select from templates or selecting from the projects, the user is automatically redirected to the XChain Connections page to manage and deploy the project.
-
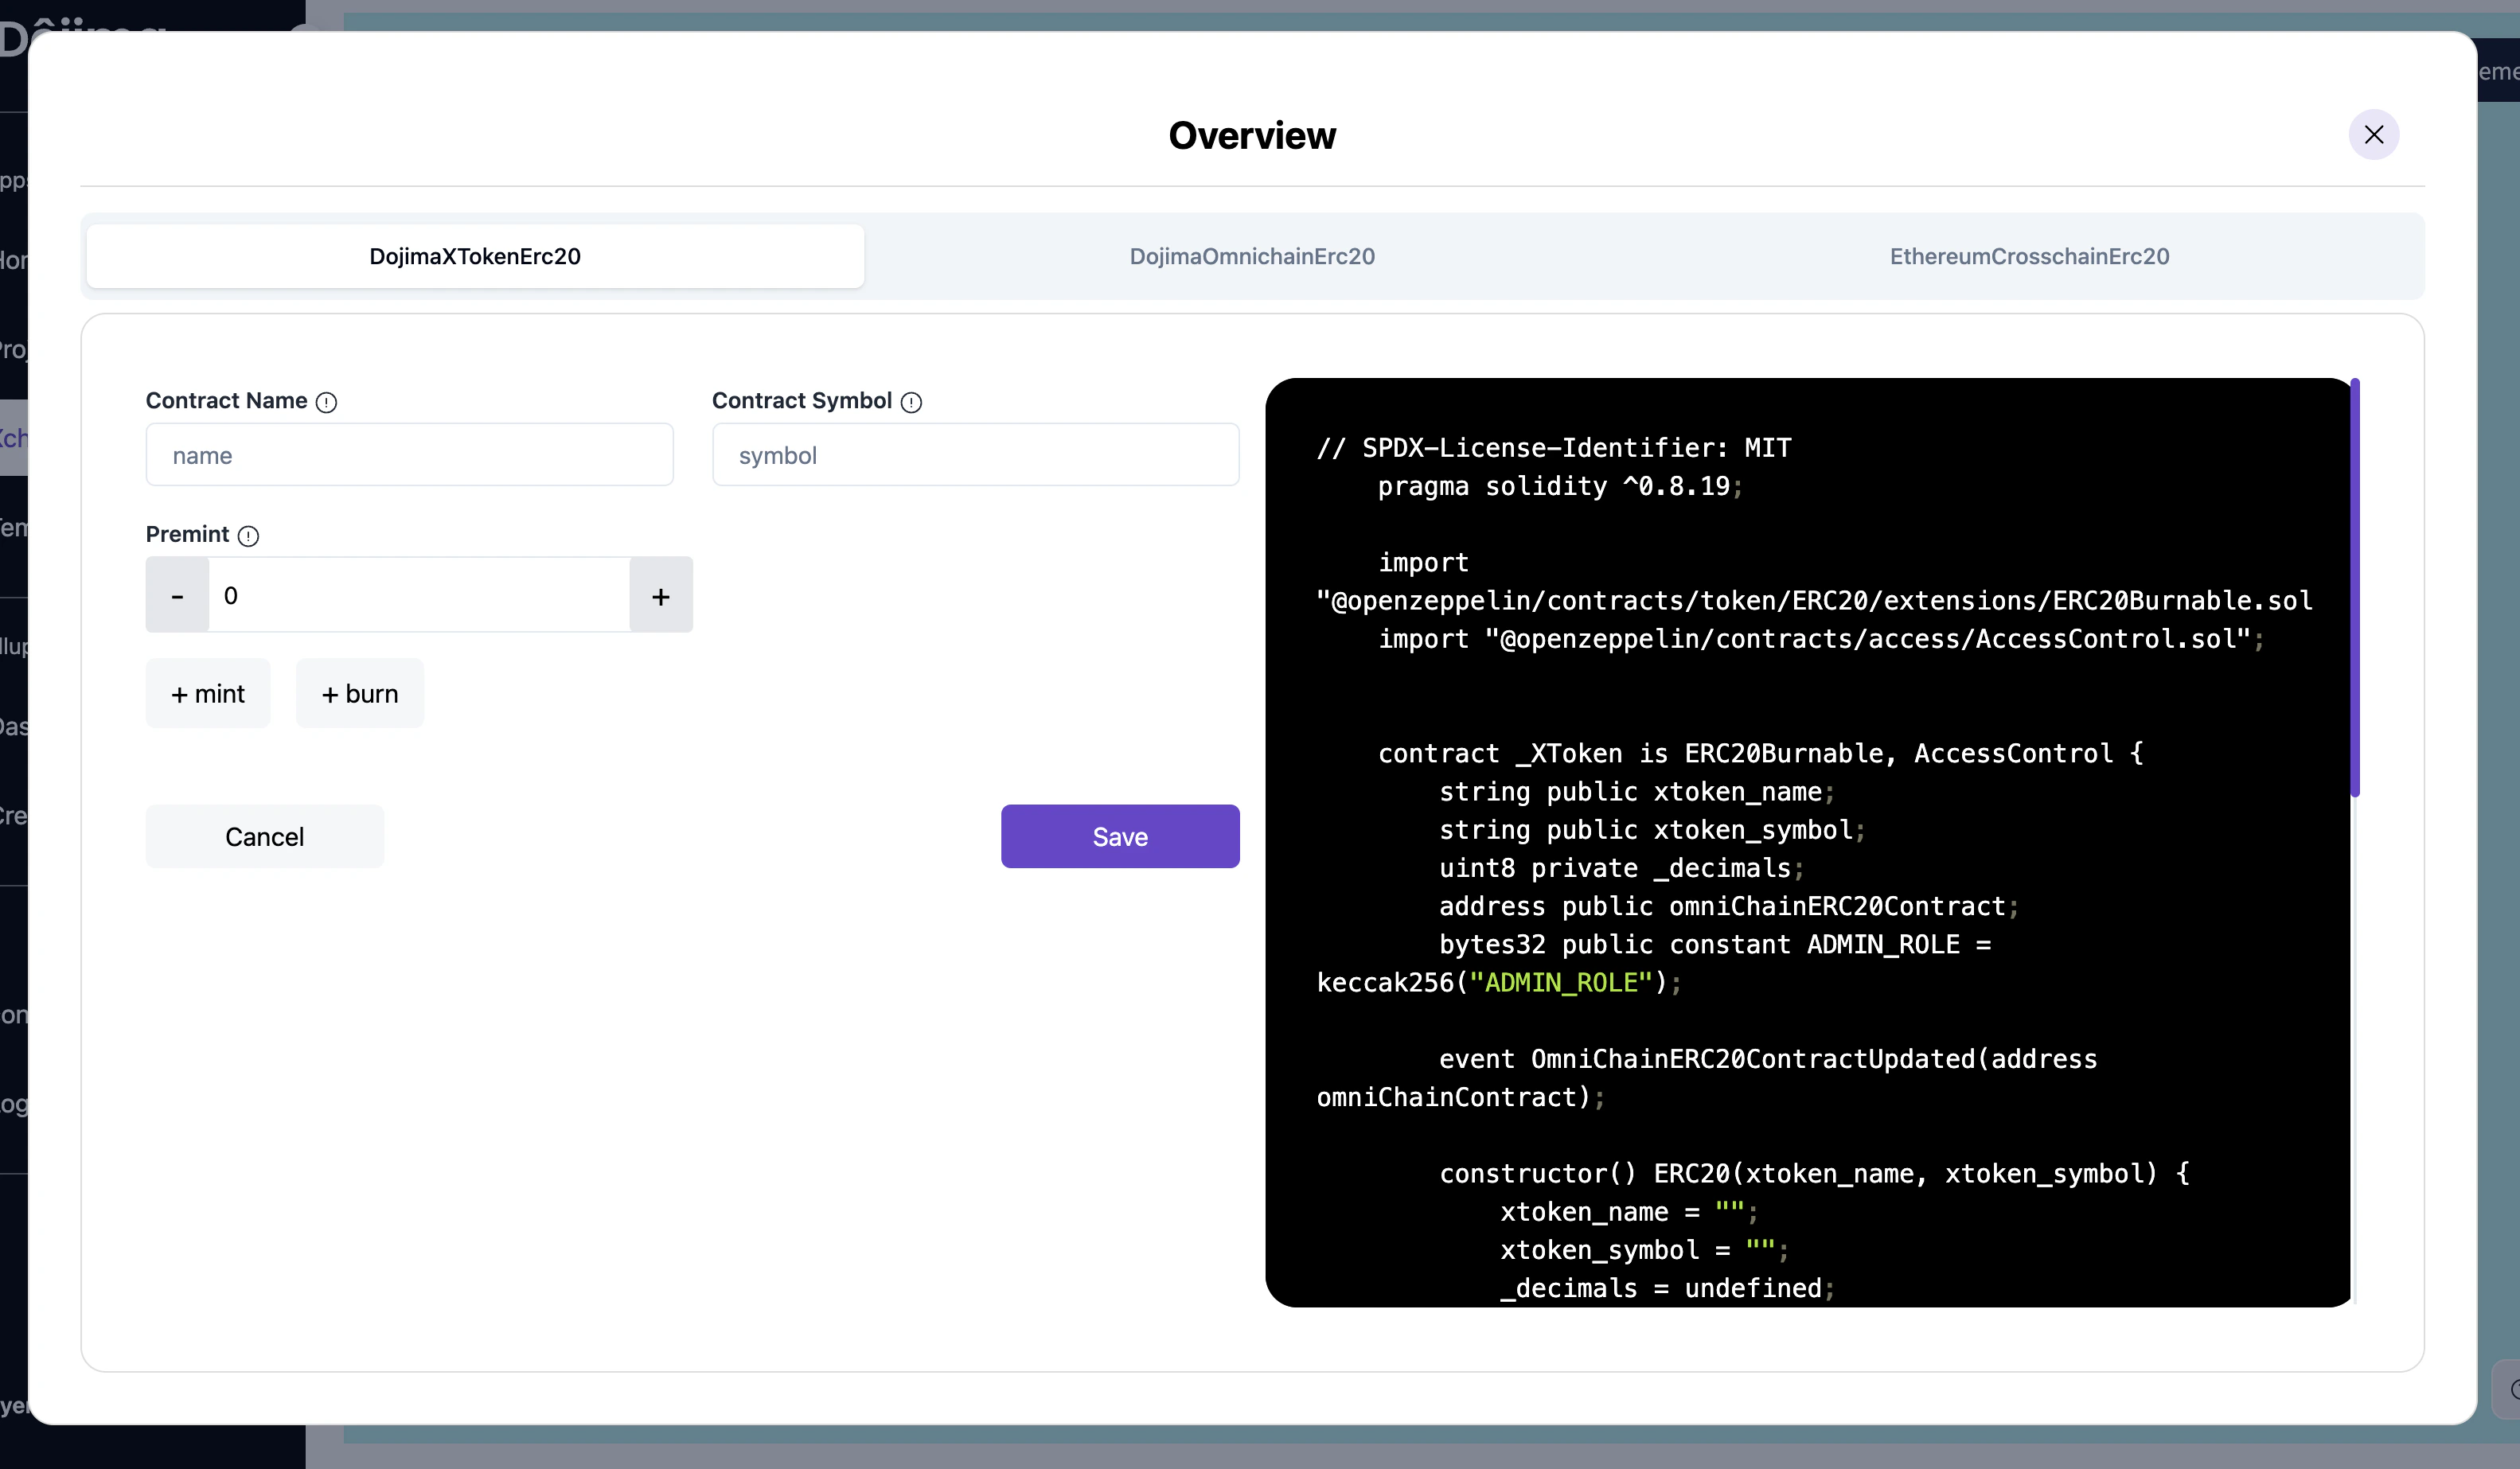
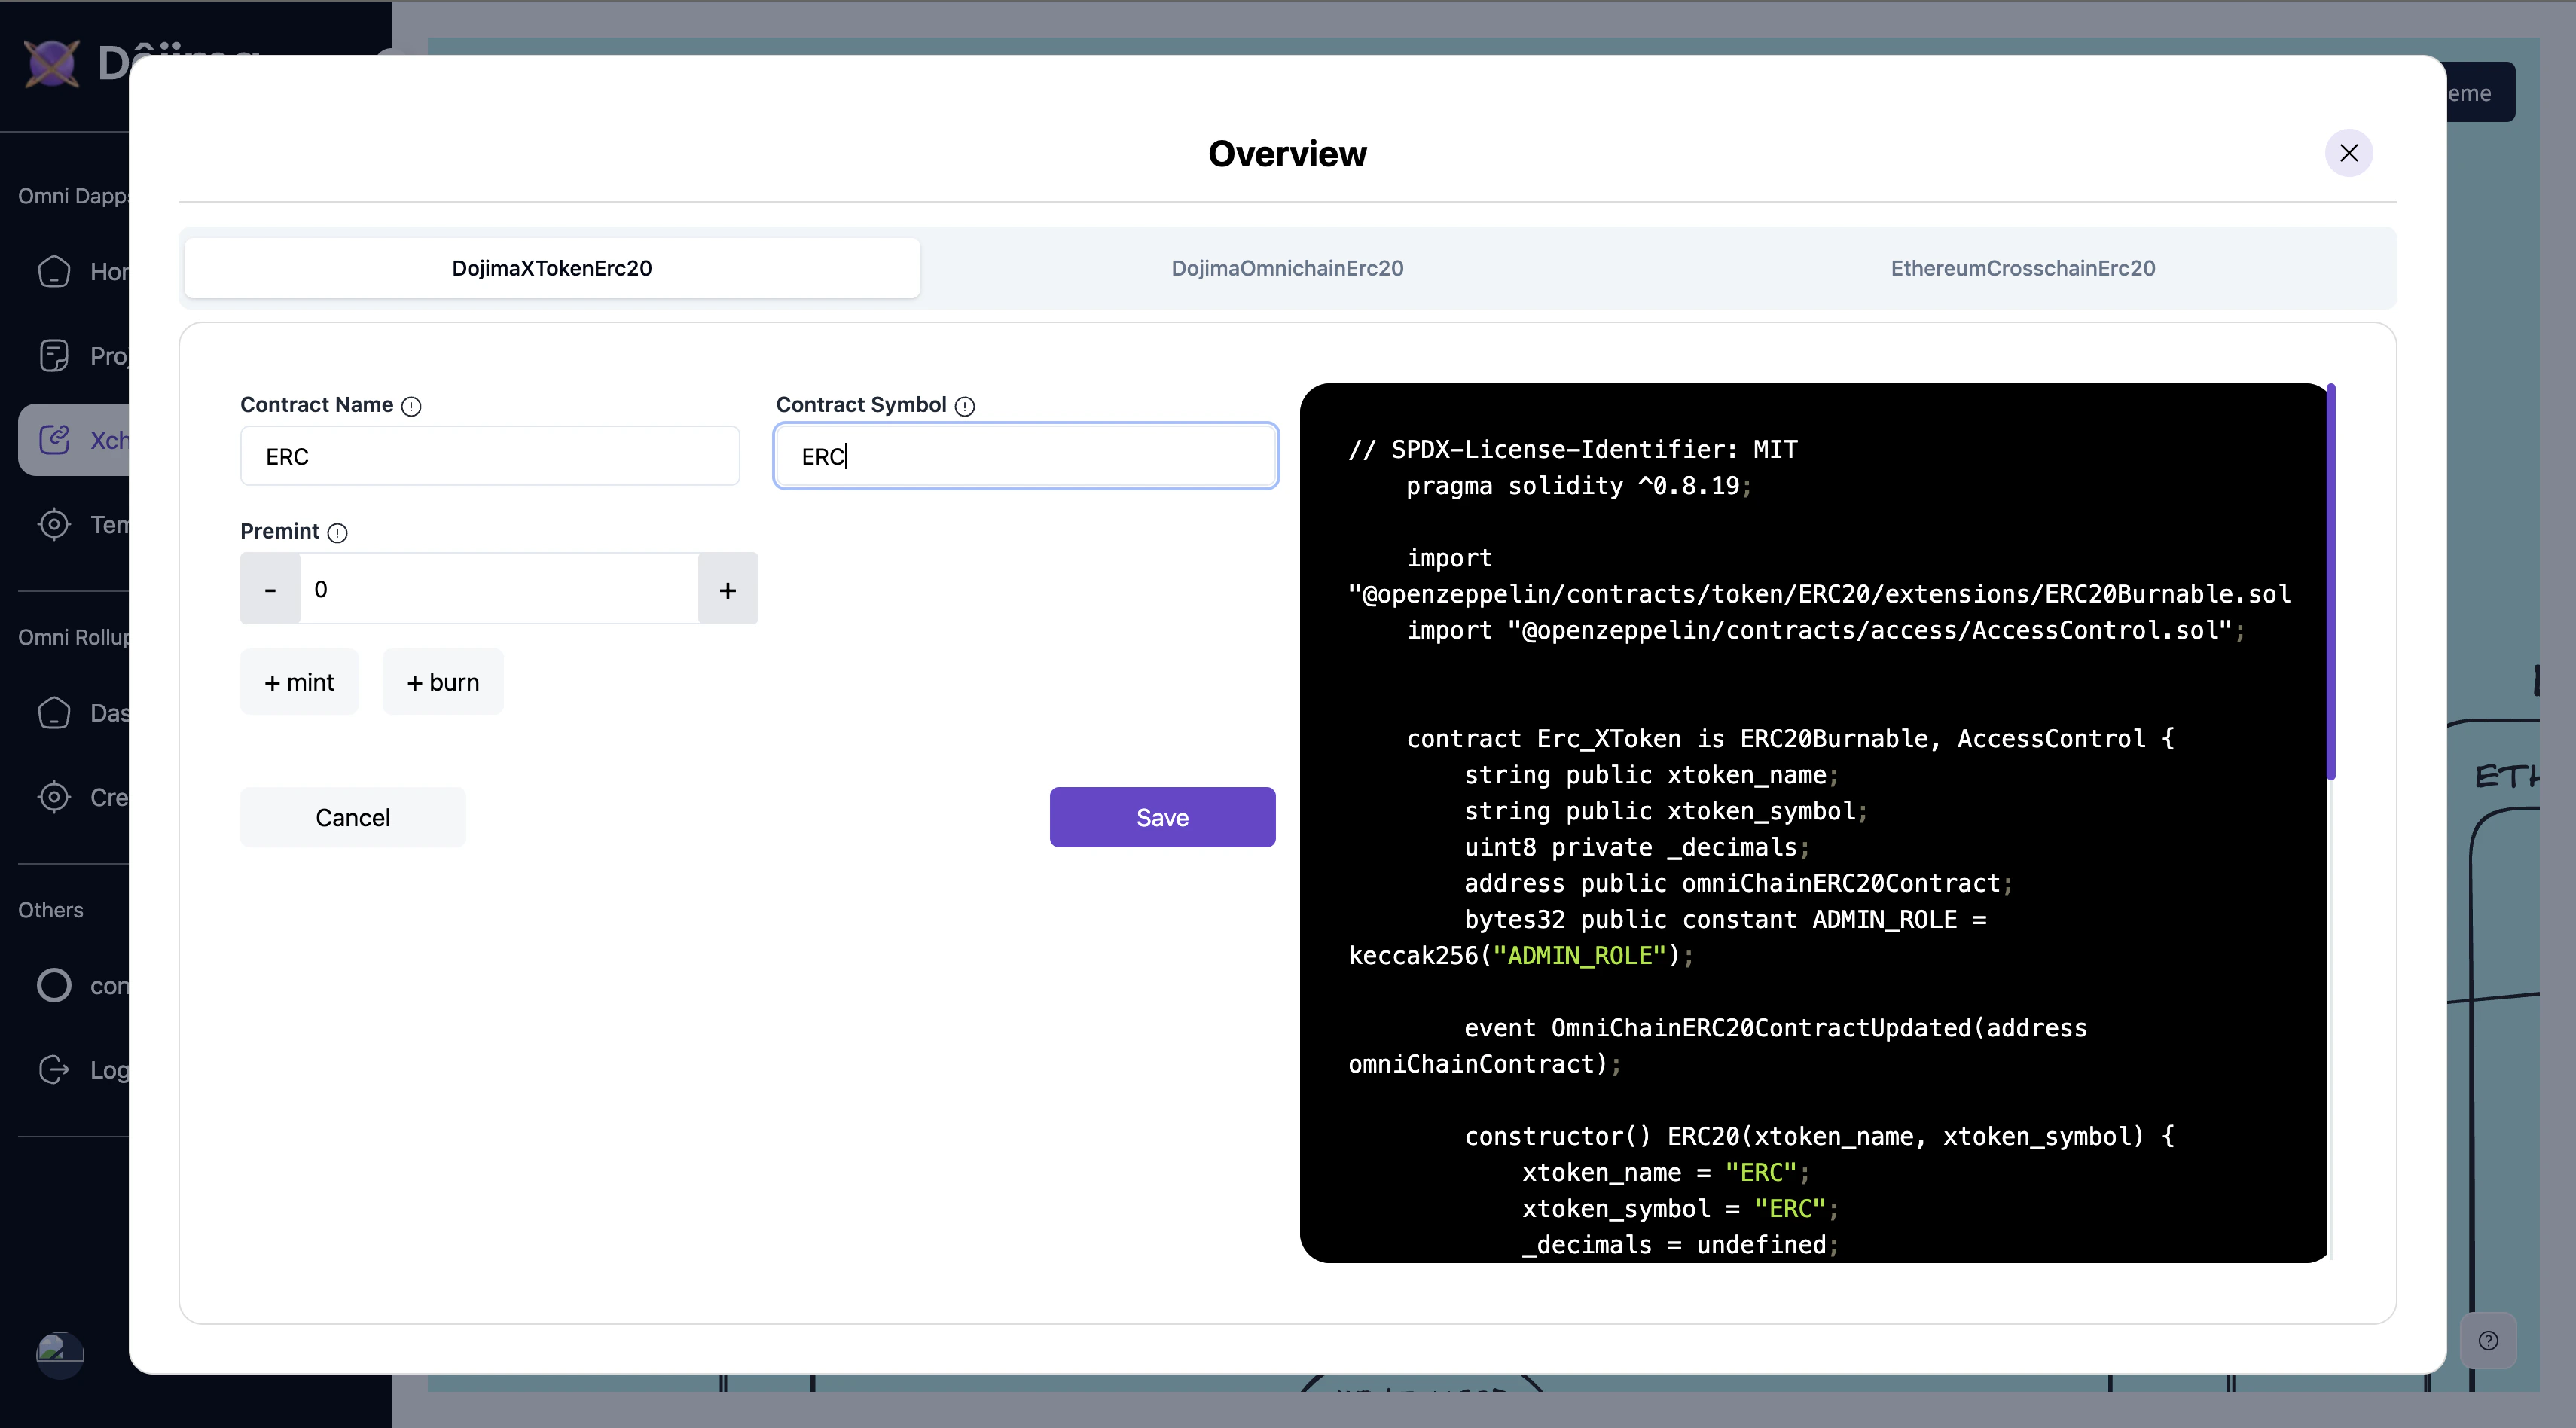
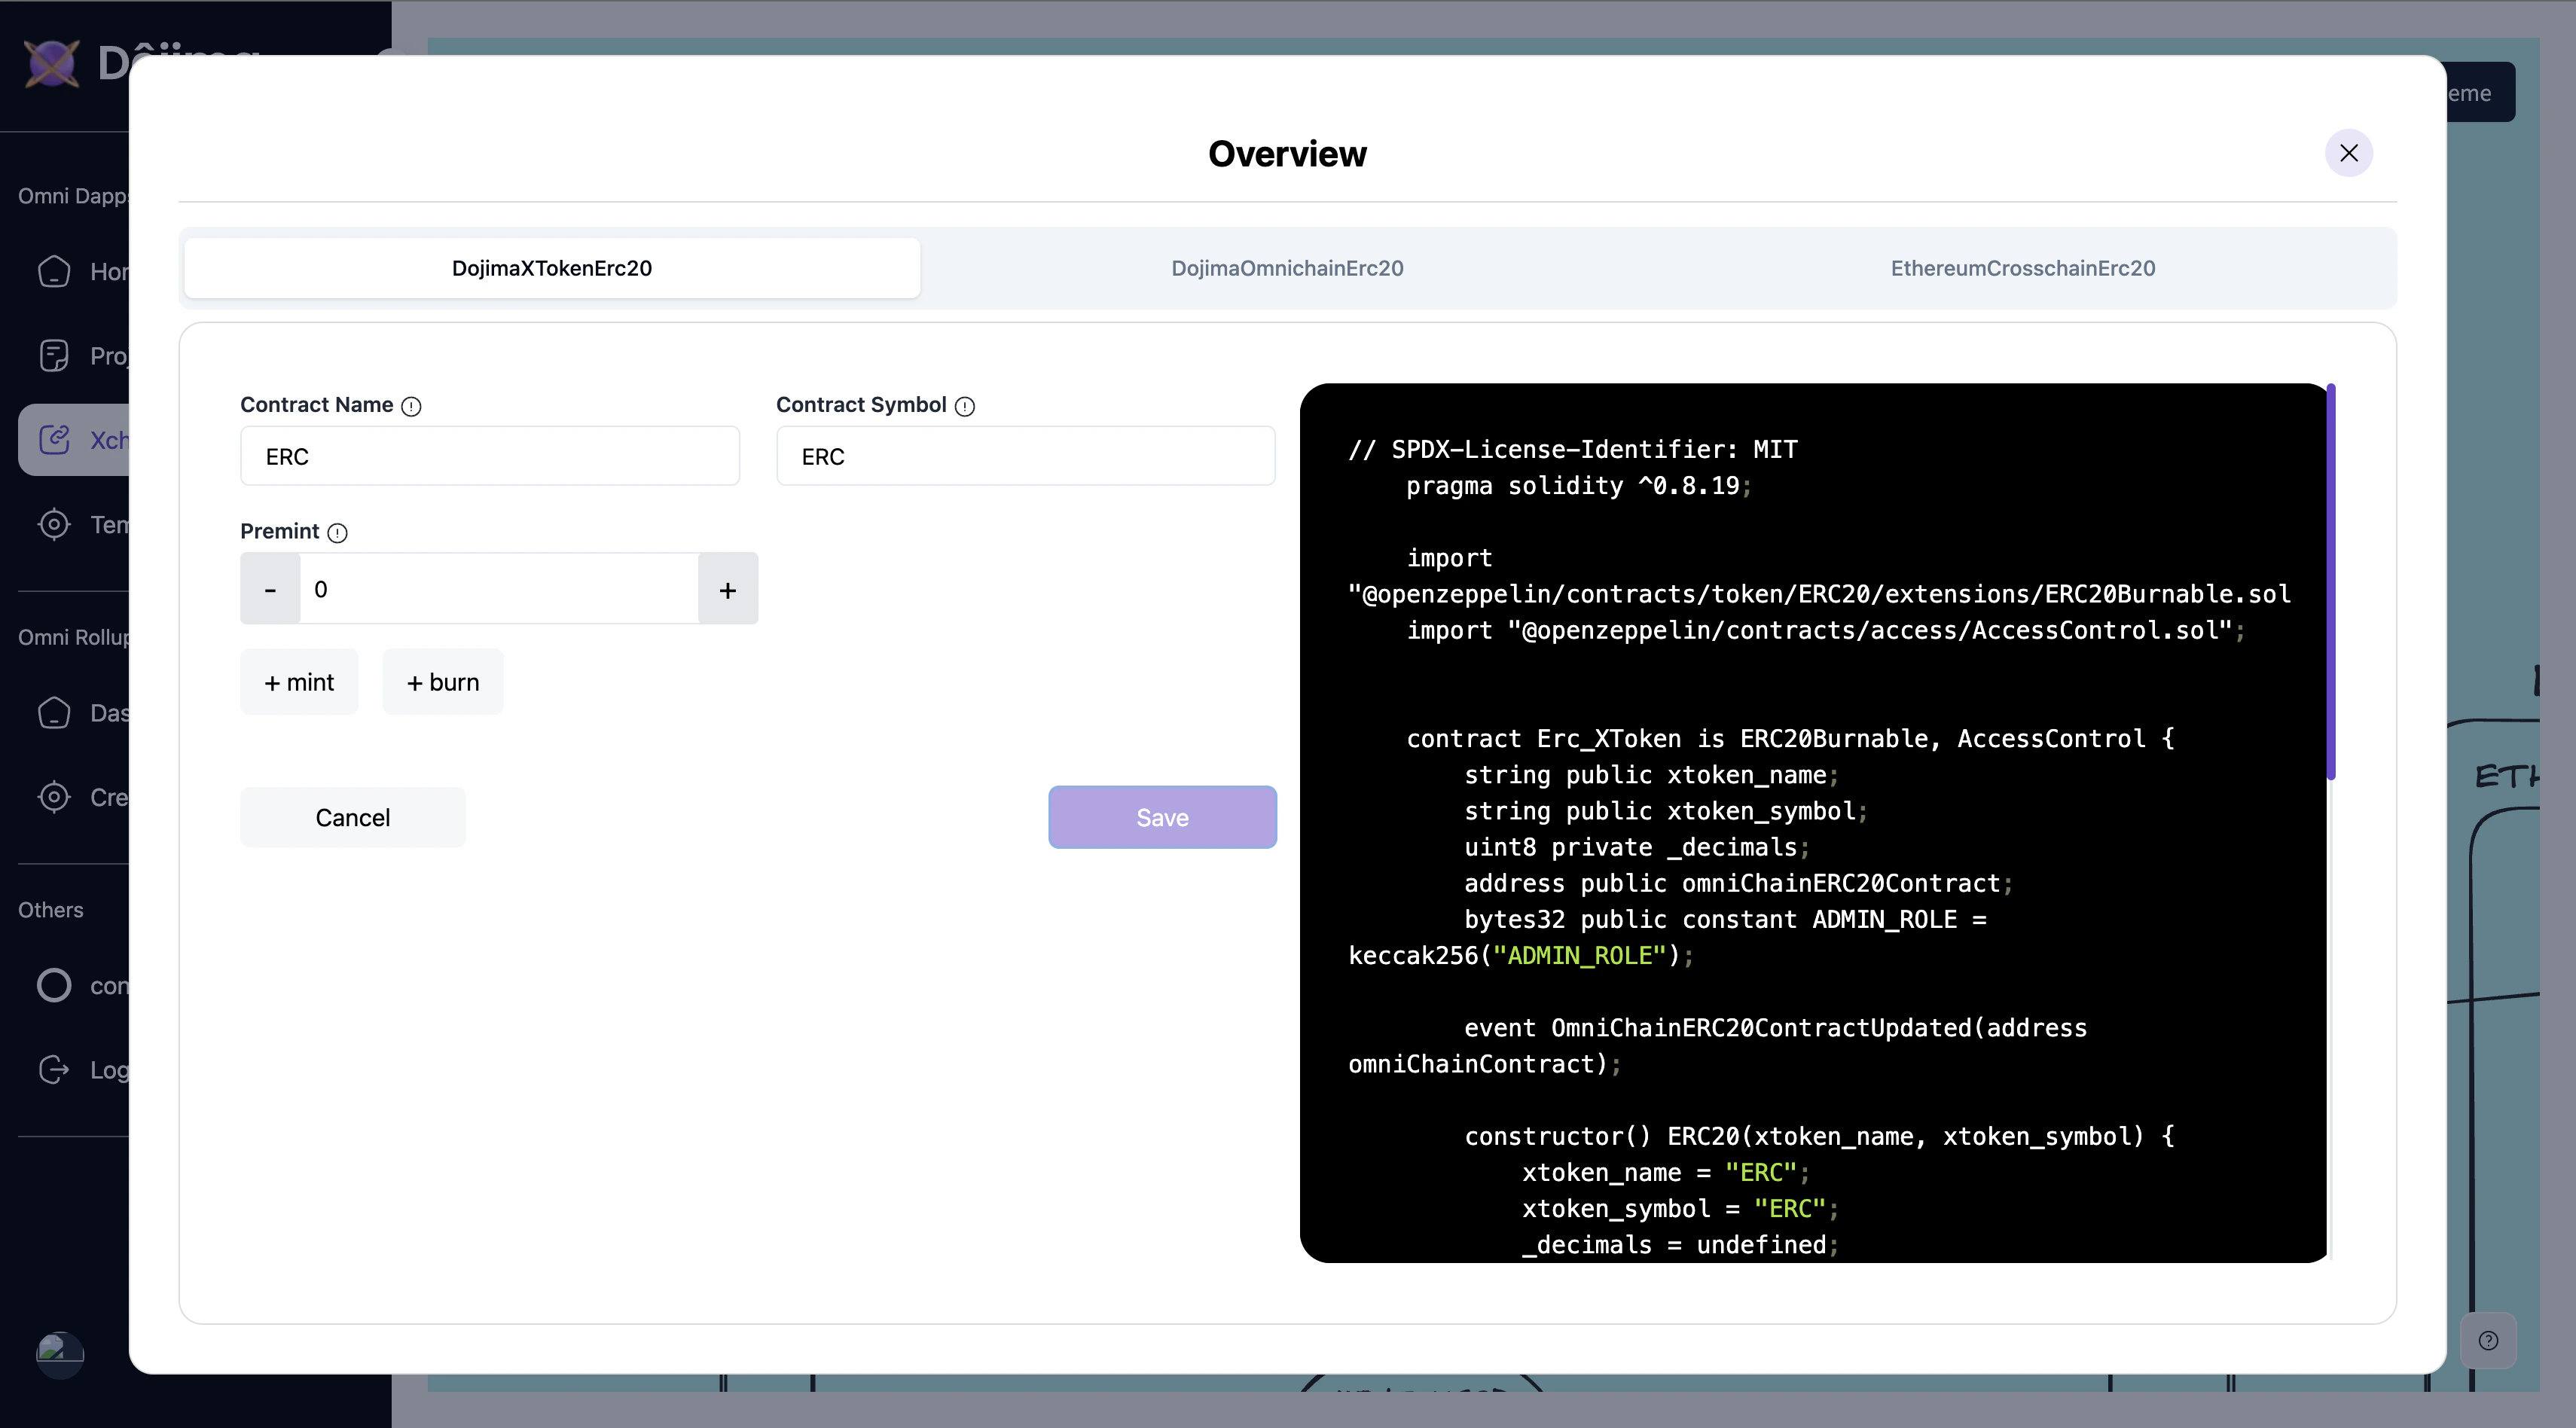
Access Contracts
- In the XChain Connections page, head to Contracts located at the top-right corner.
-
A popup appears, prompting the user to enter specific inputs required for the cross-chain template deployment.
-
Enter Input Details
- The user is asked to fill in all required fields in the popup.
- Important: Ensure all inputs are correctly and consistently filled out before proceeding.
-
Save Details
- Before moving to the next step, the user clicks Save to store the input details.
- Before moving to the next step, the user clicks Save to store the input details.
-
Complete All Steps
- The user follows any remaining steps within the popup to complete the configuration.
- Once all steps are finalized, the user closes the popup.
-
Enable Deploy Button
- After completing and saving all input details, the Deploy button is enabled at the top right.

- After completing and saving all input details, the Deploy button is enabled at the top right.
-
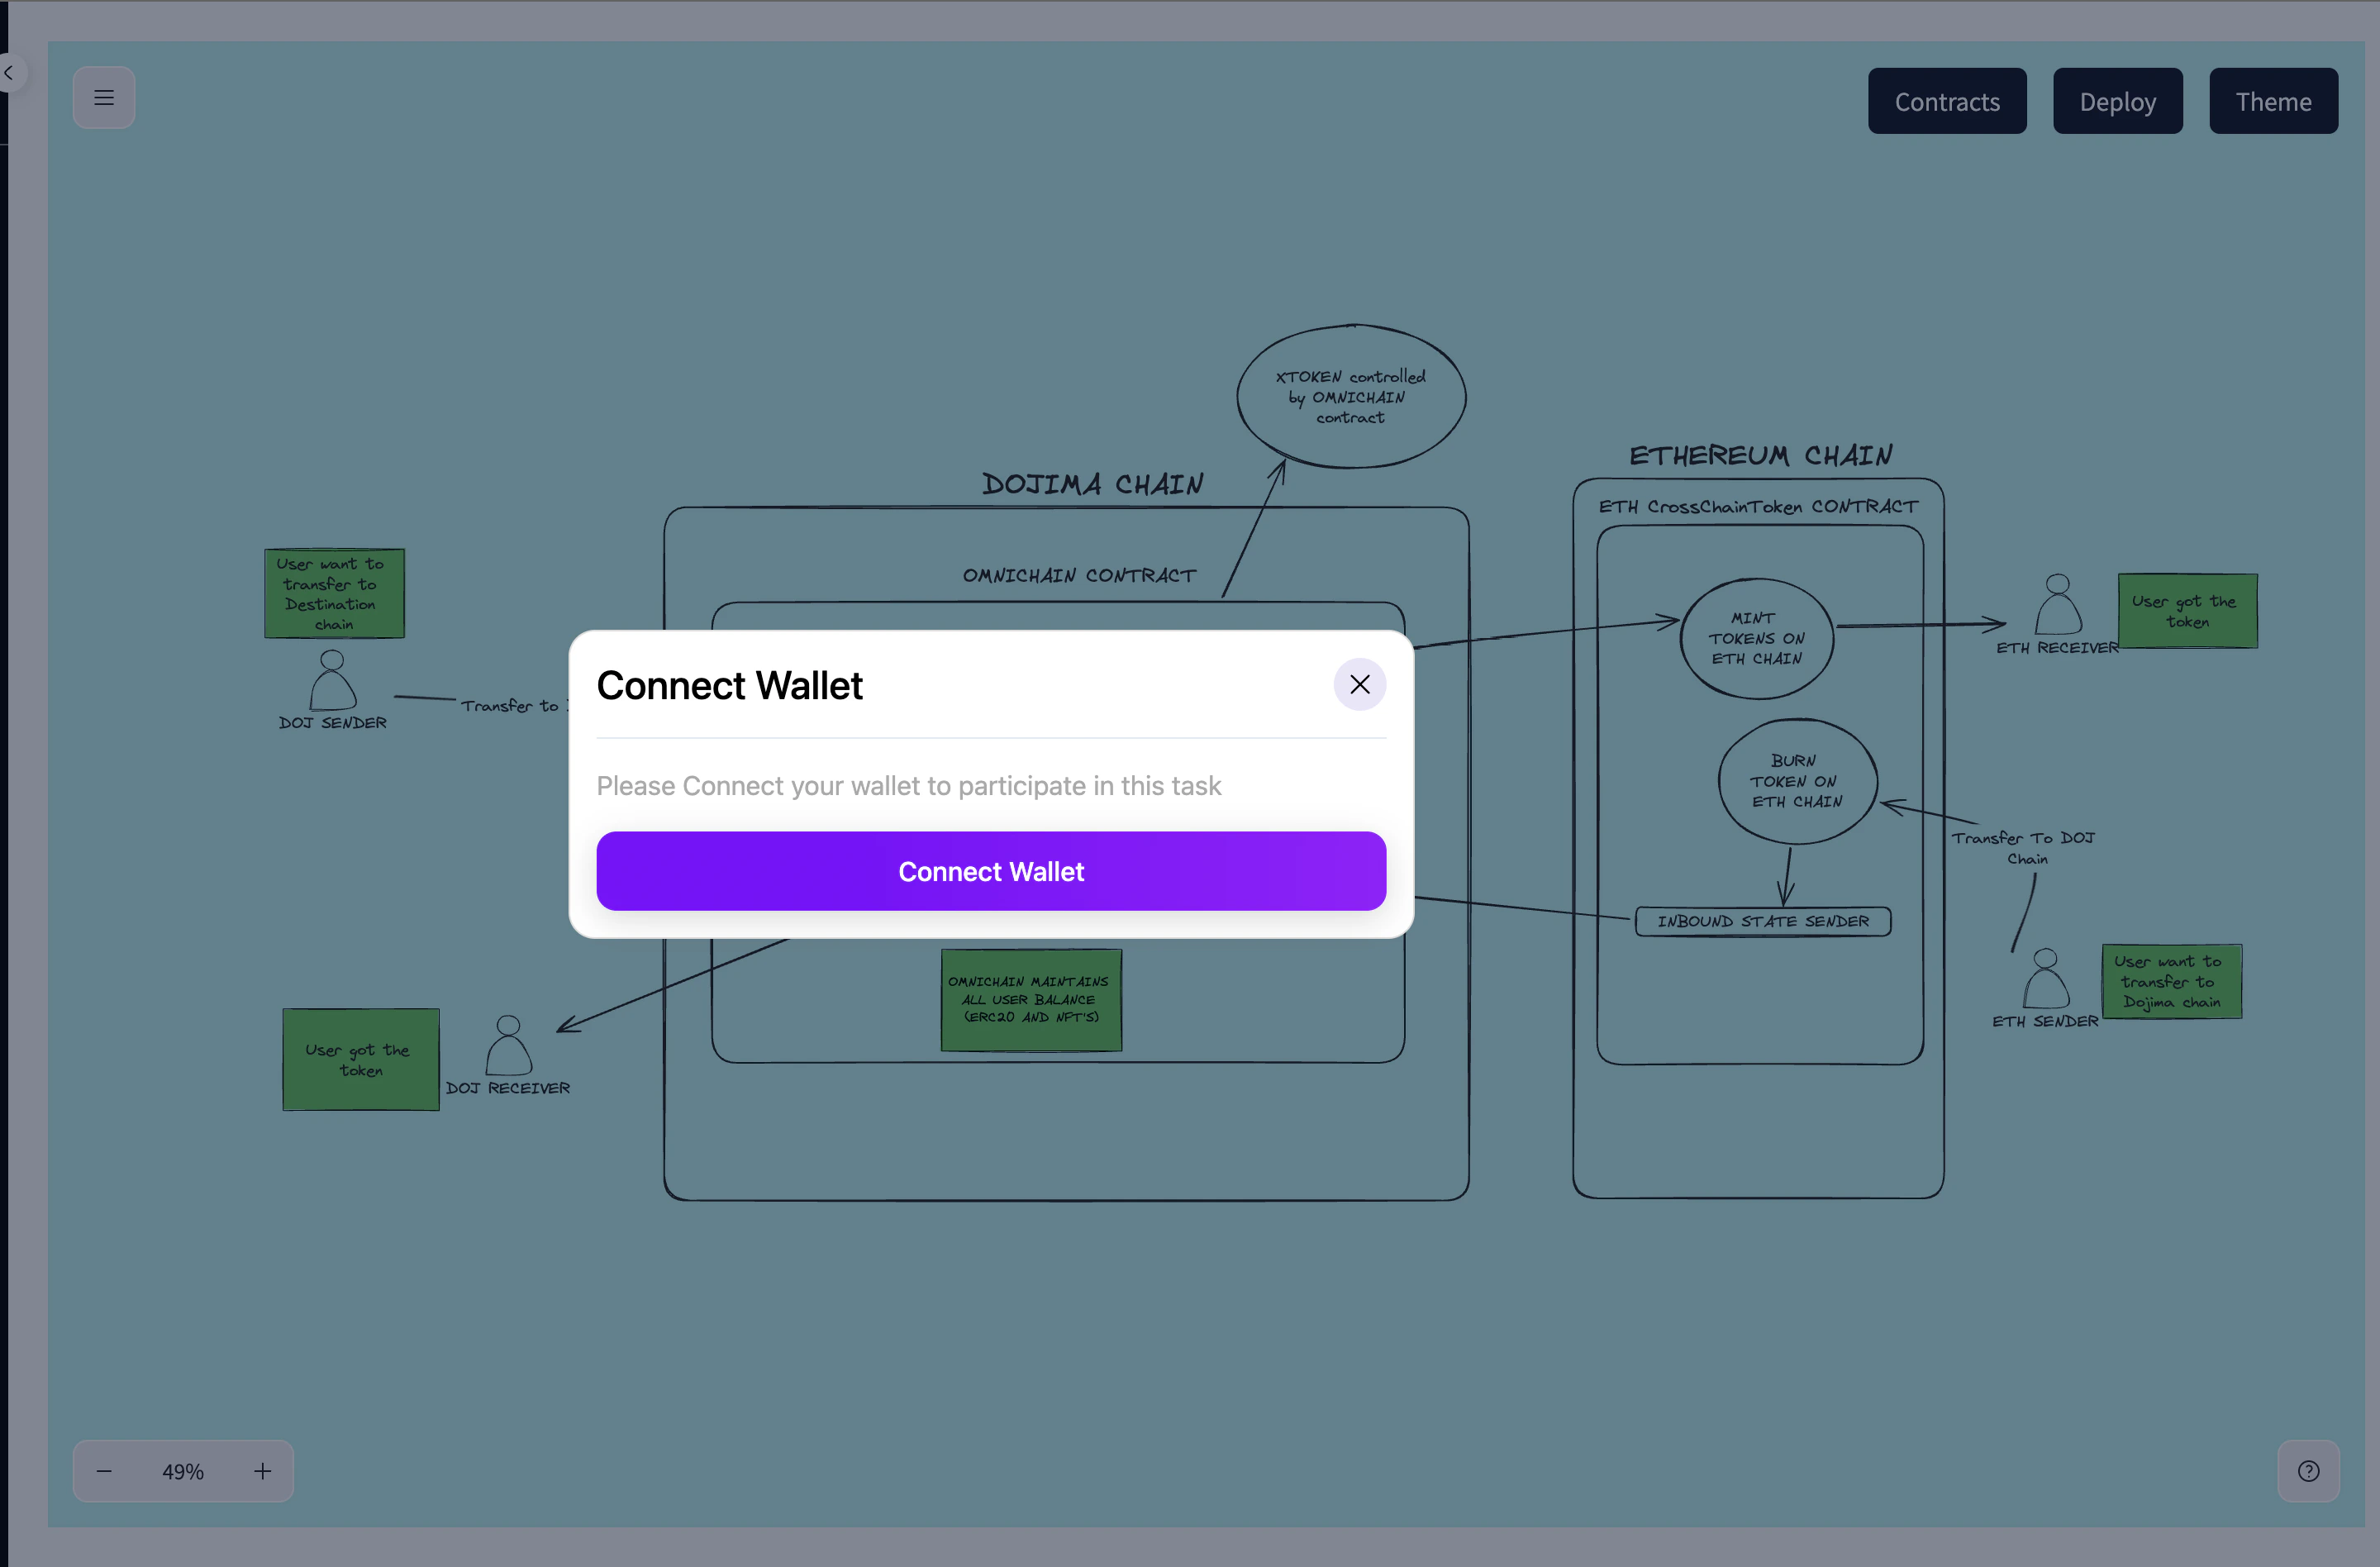
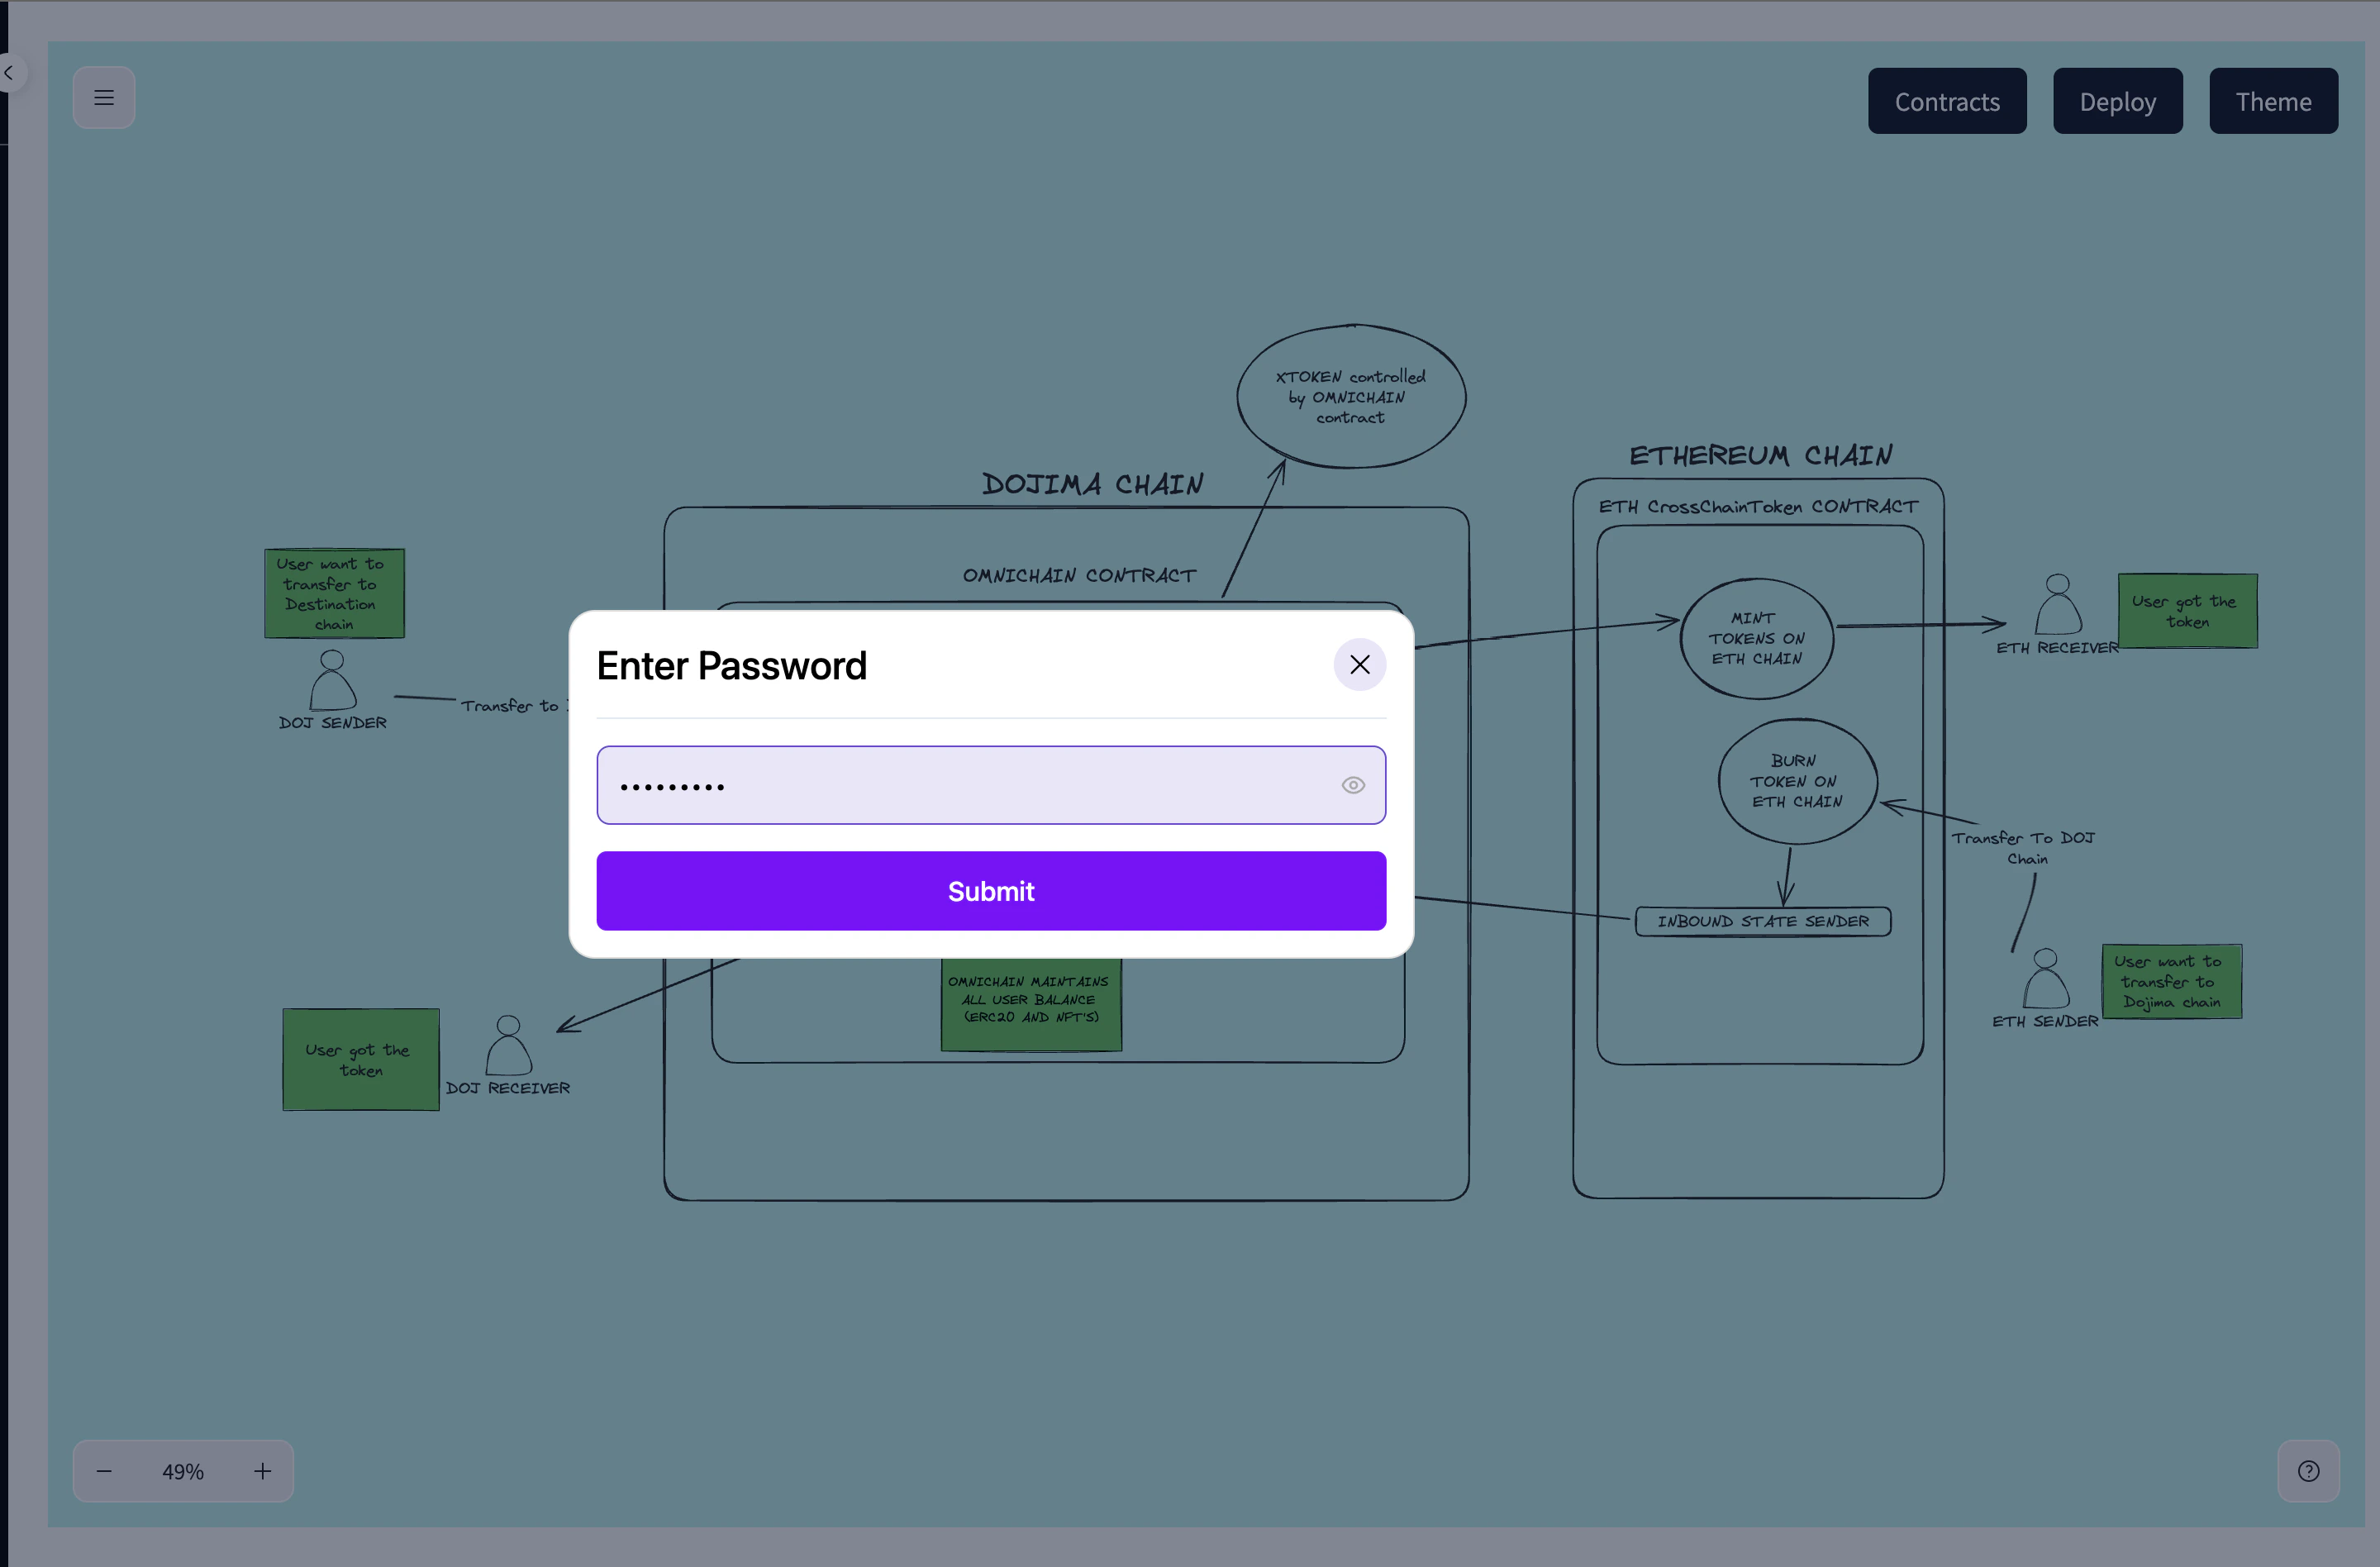
Deploy the Project
- To deploy the project, the user clicks on the Deploy button.
- The system prompts the user to connect to the Dojima Wallet to complete the deployment process.
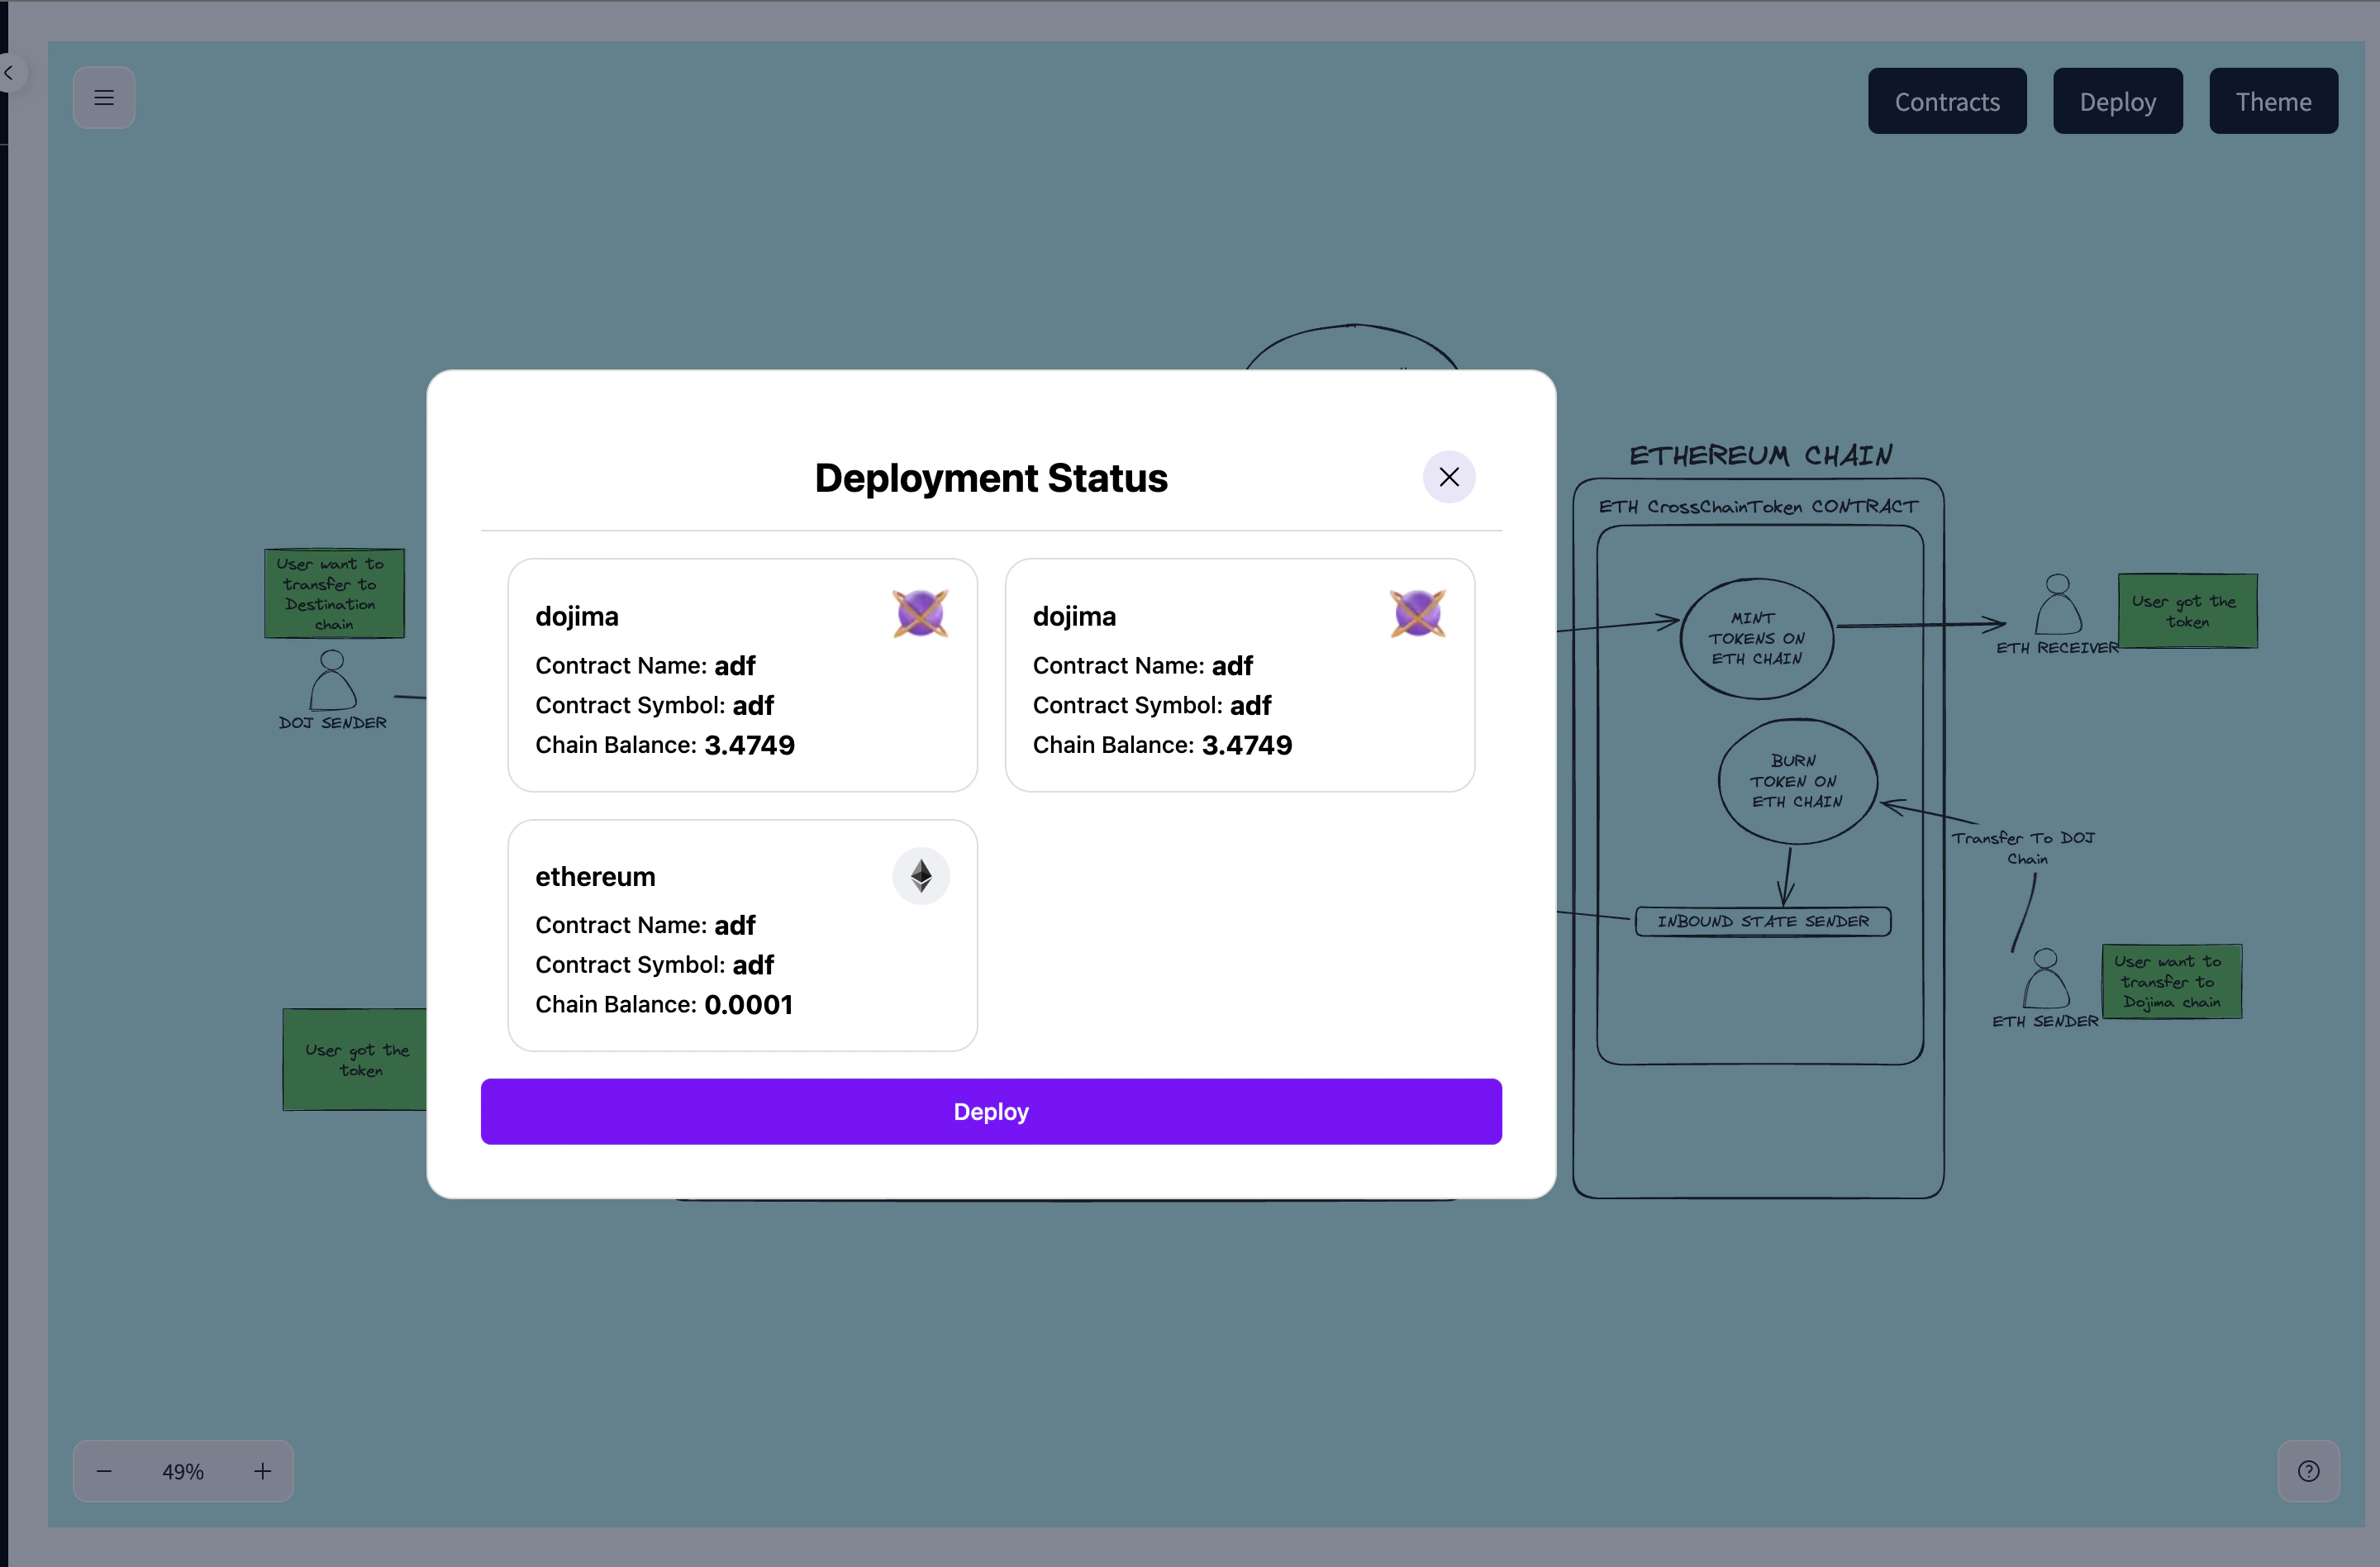
- Preview
-
To deploy the project, Accounts should maintain minimum balance of 0.2.

-
Review the details and proceed to deployment.
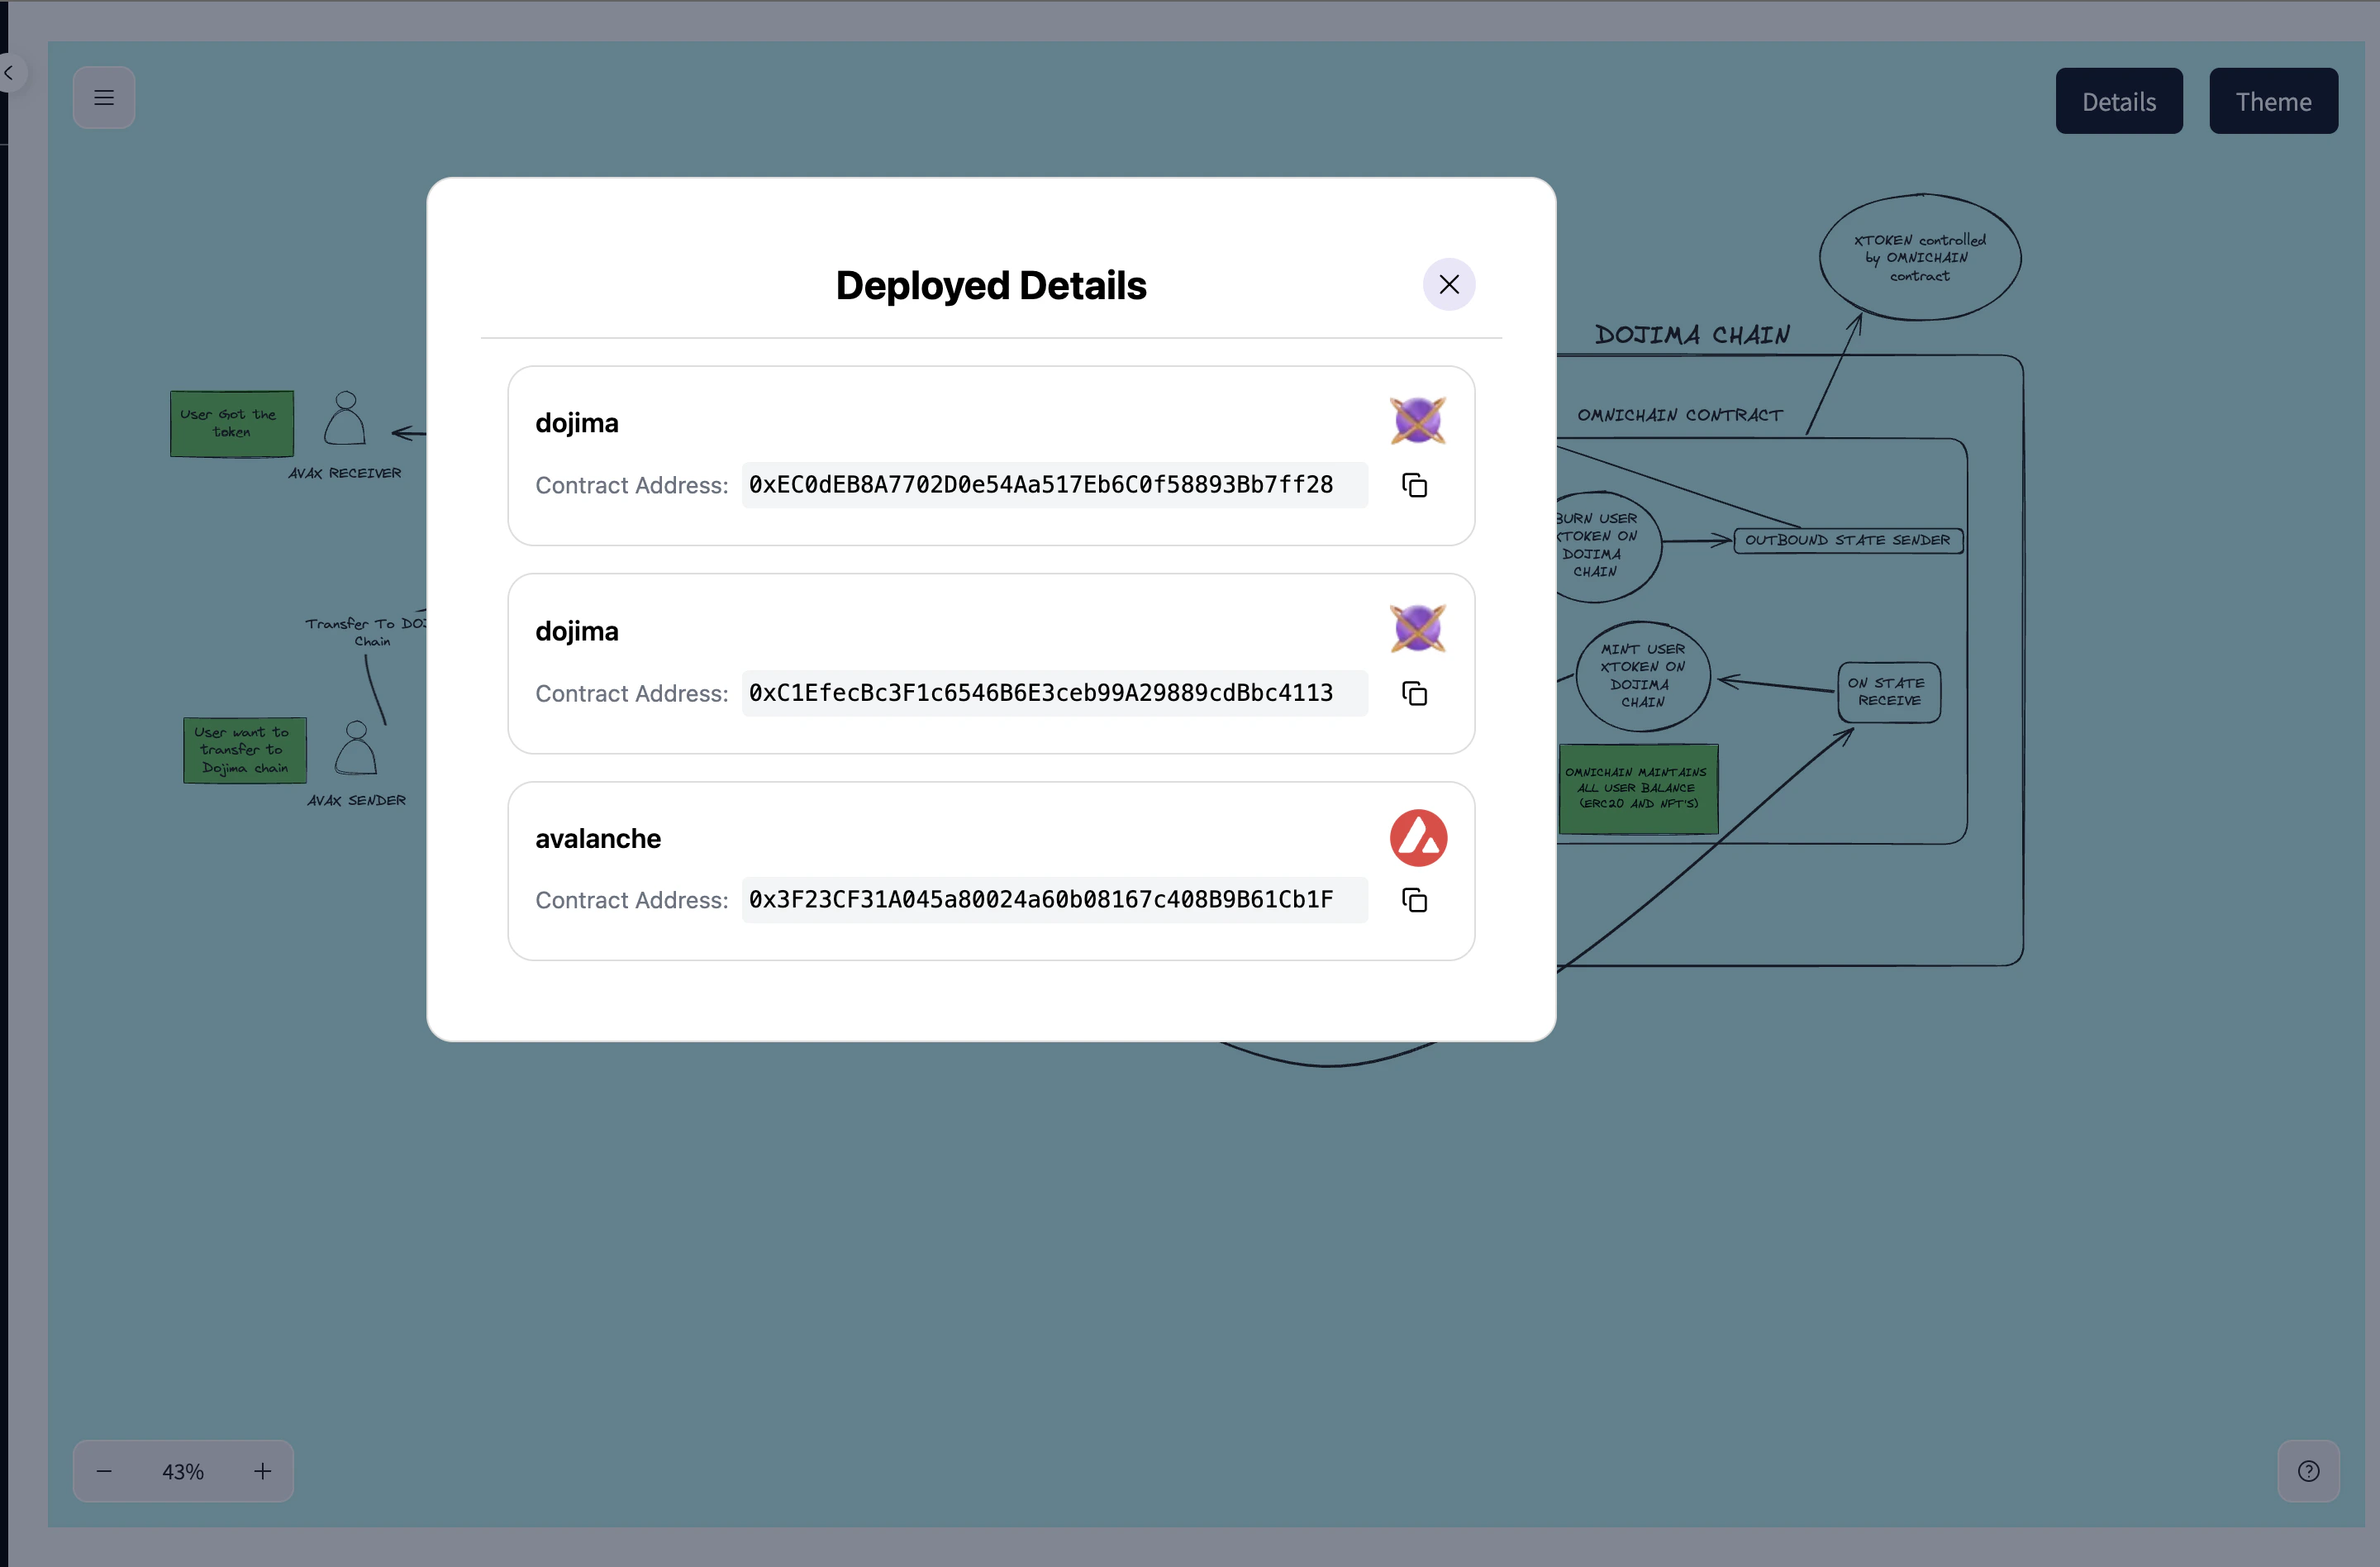
After the deployment of the project head over to the projects section and select the deployed project and head to details to see the project details.